
Setting up barcode scanning
Updated on September 5th, 2018
Using barcode scanners in SalesBinder is a great way to streamline your workflow and it’s very easy to get setup.
Getting Started
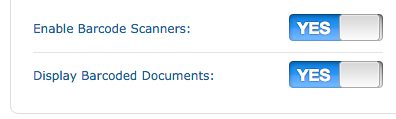
Enable barcode scanning in your SalesBinder account settings.
All you need to do is have your barcode scanner connected to your computer (or mobile device). Then simply login to your SalesBinder account, go to “Settings” and click on “Barcoding”. There you can enable barcode scanner support as well as choose whether or not if you’d like to display document barcodes on top of your orders.
What barcode scanners can I use?
SalesBinder has been thoroughly tested to work with any USB or Bluetooth point and shoot handheld barcode scanner that is compatible with your computer (or device). We don’t currently support doing batch scans (where you would scan multiple items offline then batch enter them into a SalesBinder order). If you don’t have any barcode scanners yet, we generally recommend picking one up at your local office supplies store or finding a deal online using something like Amazon.com and reading the reviews. They generally range in price from $30 – $500 depending on the quality and durability of the product.
What Can I Scan?
Add items to your order.
If you’re creating a new order and you’re on the screen to start adding items, instead of clicking on “Add Inventory Item” simply scan in a barcode and the item will magically appear. Scan another one in and that will also appear. Scan the same barcode again and it will automatically increase the quantity from 1 to 2.
Look-up an item's details.
If you’re at your inventory list, simply scan an item’s barcode to go directly to that item’s details page.
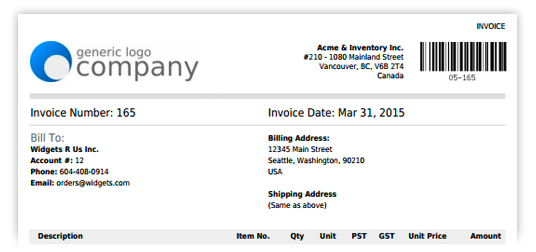
Look-up an order (any printed SalesBinder document with a barcode).
If you’re at your orders list (PO, estimate, or invoice list) and scan in a document barcode, that order will show up on your screen without typing anything (as seen in the image here). Note: Document barcodes only display if you’ve enabled it under your account settings which were mentioned in the beginning of this article.
Barcoding Inventory Items
In order for you to start scanning barcodes, you’ll need to associate your barcode information to your inventory items in SalesBinder. When barcode scanning is enabled under your settings, there’s a new barcode field available to your inventory items. You can either edit your existing items, or add new items and enter the barcode data into that field. You can also import your inventory lists and have the option to map your barcode data there as well.
What if my inventory doesn't have barcodes?
If you’re starting from scratch and also need to generate/print your barcode labels then we’d recommend getting yourself a barcode/label printer. You can pick one up at your local office supplies store or find some deals online using something like Amazon.com. These printers should include software for generating and printing your barcode stickers which you can apply to your products and then input into your SalesBinder data.