
Creating purchase orders
Updated on January 26th, 2022
Creating purchase orders in SalesBinder is a great way to replenish your stock levels and keep track of all your purchases.
There’s a few things you’ll need to be sure you do before you’re able to start creating purchase orders, here’s what you need:
- Add some suppliers to your “Supplier List”
These are the businesses that supply you with stock and where you’ll be sending your purchase orders - Create at least one location in your “Locations & Zones”
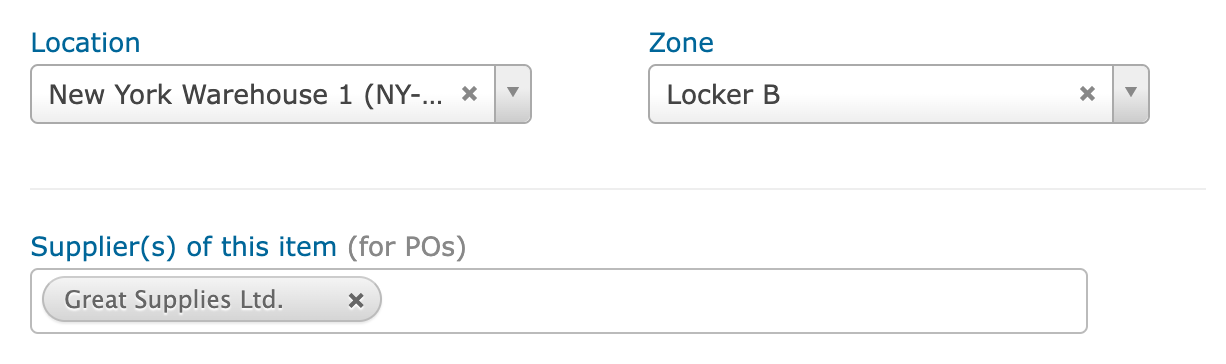
This is where your inventory is located. If you have multiple locations you’ll be able to choose where your purchase order items are supposed to be sent to. - Associate your inventory items to your Locations and at least one Supplier
This can be done by adding a new item or editing an existing inventory item
Note: Purchase Orders only work for Quantity Items since Unique Items can’t be re-ordered otherwise they couldn’t be considered “unique”.
If you follow these steps, you’ll be able to create purchase orders and be sure you’re only ordering items that your selected supplier actually carries.