One of the critical elements to practicing good inventory management is knowing precisely where every last piece of inventory is, and with SalesBinder it’s extremely easy to do just that.
Once you’re logged into your SalesBinder account, you’ll see an option under the “Inventory” main menu called “Locations & Zones”. From here you can add as many locations as you need. If you only have one location we still recommend adding it so you can take advantage of using Zones – and you never know, you might expand down the road and open another location or warehouse so you’ll already be on the right track.
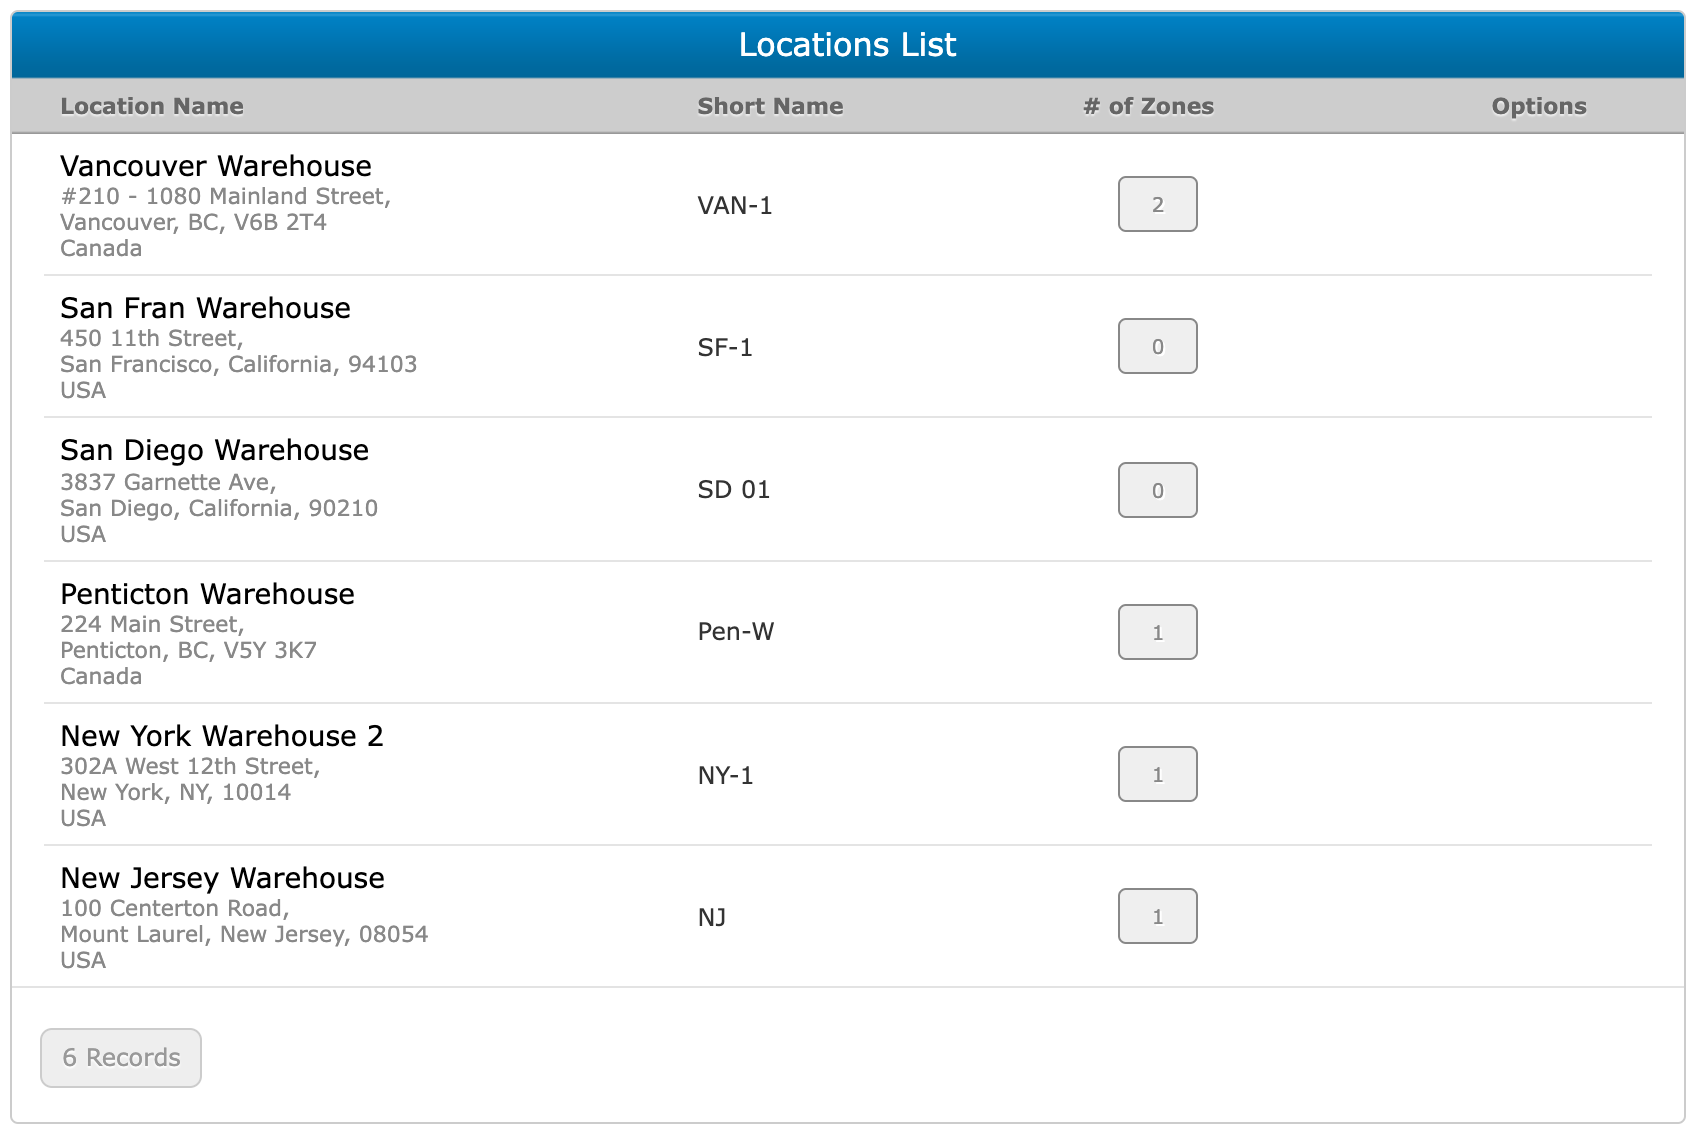
Locations
- Locations are physical places where you store your inventory
If you have multiple warehouses, offices, retail stores, or anything similar then this should make a lot of sense. On the other hand, if you only have one office you’re still likely to be storing your inventory into different rooms. These rooms can also be considered “Locations” for your purposes.
Zones
- Zones are specific places within your locations. Once you have some locations setup, you should start organizing those locations by different zones. If you have warehouses then these zones could be Isle names and Row numbers. If you have a large property where inventory is stored, these zones could be specific areas of that property.