Adding custom fields to inventory
Updated on February 26th, 2024
When you’re adding inventory into SalesBinder you might want to have specific fields for storing information about specific inventory you carry. We call these “Custom Fields”.
For example, if you carry vehicles in your inventory you might want to have custom fields for “Year”, “Make”, “Model”, etc. Here’s how you create your own custom fields:
- Go to “Manage Categories” (in the left menu under Inventory)
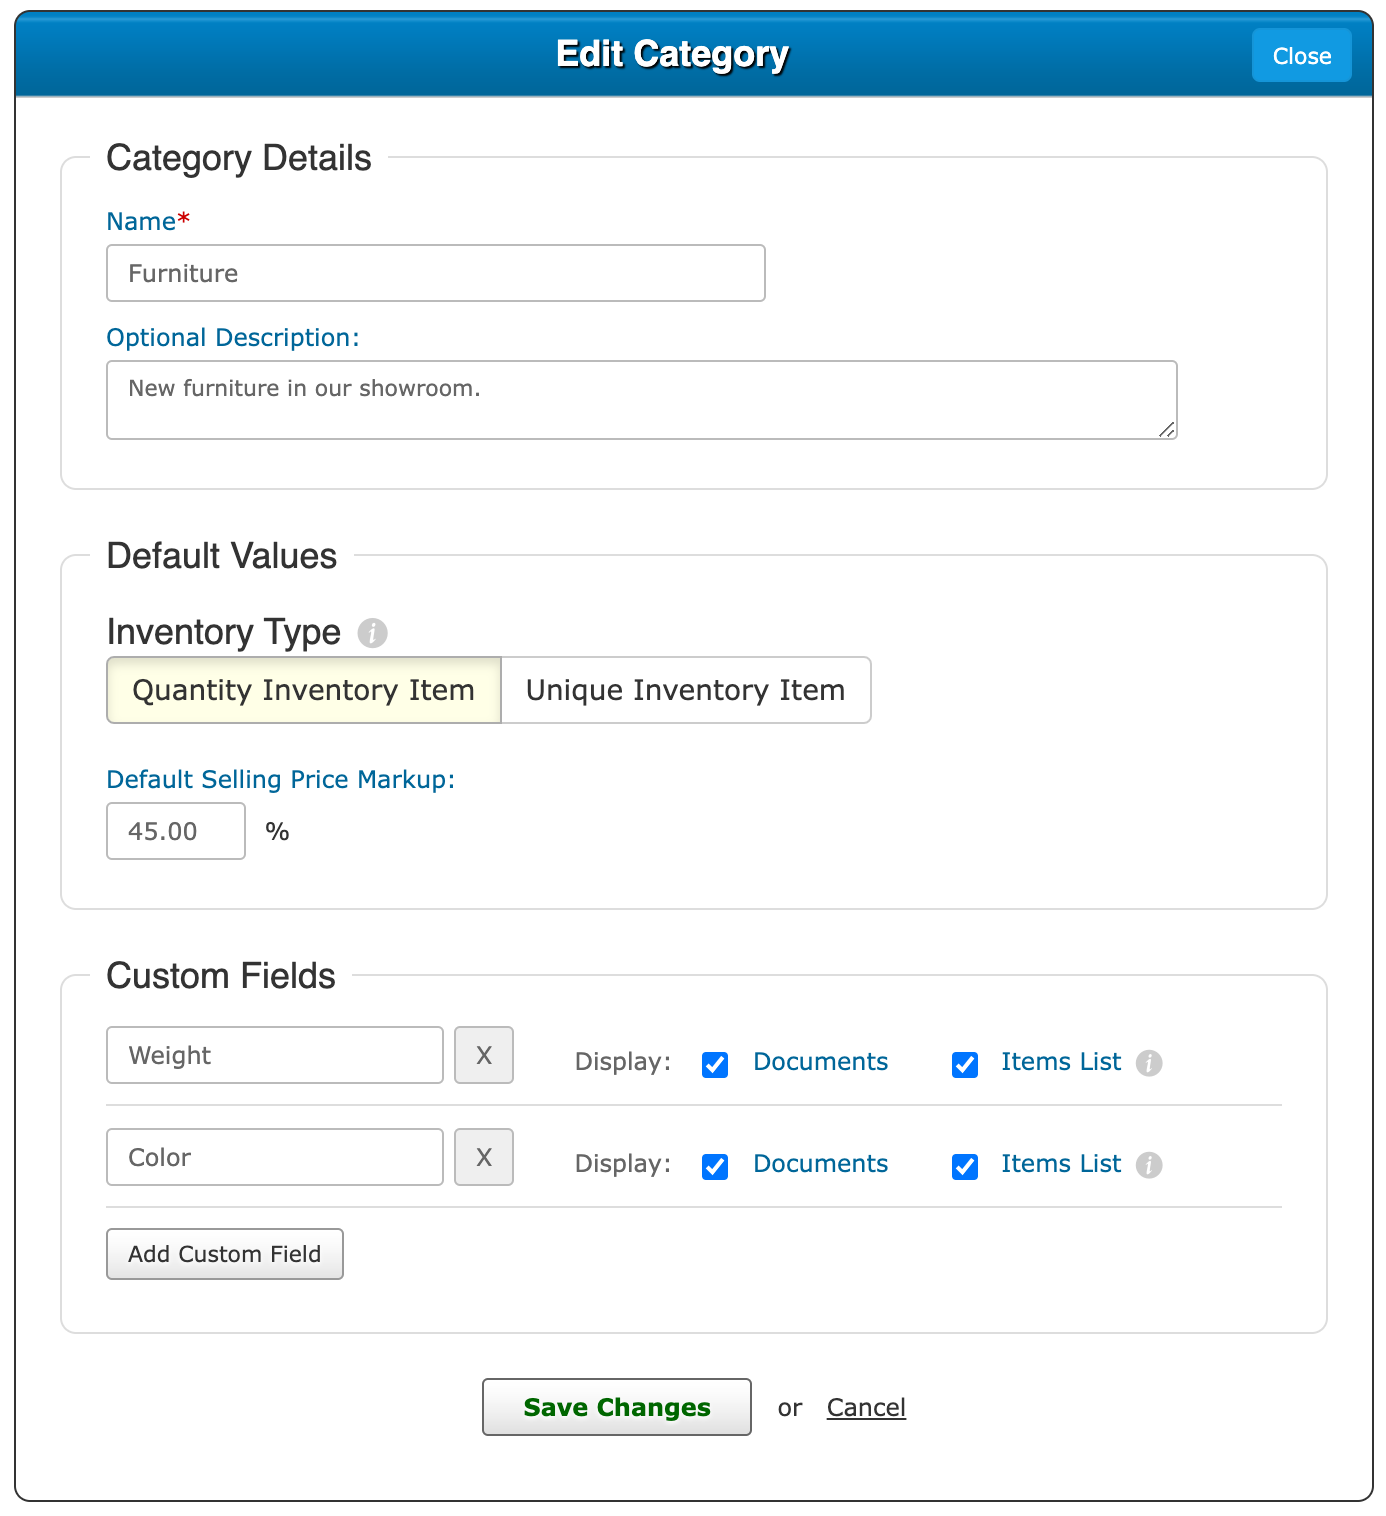
- You can either add a new category or click on an existing one
- Towards the bottom of the pop-up window you’ll see “Custom Fields”
- Click on the “Add Custom Field” button and enter the name you want (ie. Year, Make, Model, Color, Size, etc)
- Click “Save Change” on the bottom
Now that you have at least one category using custom fields, you can edit an exiting inventory item in SalesBinder or add a new one to take advantage of the new custom field. When editing or adding a new inventory item you’ll see the custom fields at the bottom of your screen where you can enter the specific information for each field. Keep in mind these fields are always optional so you don’t have to fill them out if you don’t want to.